
Reviewed · OSAKA PHOTOSHOOTS & PHOTOGRAPHY TOURS
Osaka Photography Masterclass – Private Photography Lesson
Osaka gives you two very different subjects in one compact photography session: the old-fashioned streets around Shinsekai and the neon spectacle of Dotonbori. A private guide leads you toward useful angles, changing light, and street scenes that are easy to miss when you are exploring alone.
I like the one-to-one teaching and the way the session can match your skill level and pace. I also like that the advice works with a full camera or an iPhone. The main consideration is price: at $170 per person, this makes the most sense if you want hands-on instruction, not simply a guided walk.
In This Review
- Key points to know
- Why Osaka works so well for a photography lesson
- The day route from Shinsekai to Dotonbori
- What you learn about camera settings and composition
- Dotonbori at night and the practice of long exposure
- The value of a private guide such as Irven
- How the three hours are best used
- What you need to bring
- Price, booking pace, and overall value
- Who will get the most from this experience
- Should you book the Osaka Photography Masterclass?
- FAQ
- Where does the photography experience start?
- Where does the experience end?
- How long does the photography lesson last?
- Is the tour private?
- Is a professional photographer included?
- Is camera equipment provided?
- Is a tripod provided?
- Can I use an iPhone?
- Is there a daytime and nighttime option?
- Can I cancel for a full refund?
Key points to know
- Shinsekai and Tsutenkaku Tower: The day route starts among Osaka’s nostalgic streets, with plenty of color, signs, and strong subjects for street photography.
- Dotonbori after dark: Neon signs, canal reflections, and moving crowds give you a practical setting for long exposure and night work.
- Private instruction: Only your group takes part, so you can ask questions and spend more time on the techniques you need.
- Guide Irven: The experience may be led by Irven, whose sessions include camera advice, local discoveries, and patient explanations.
- Bring your own equipment: A camera and tripod are not included, but the techniques also apply to phone photography.
- Flexible planning: The experience lasts about three hours, offers free cancellation up to 24 hours before the start, and is often reserved well ahead.
Why Osaka works so well for a photography lesson
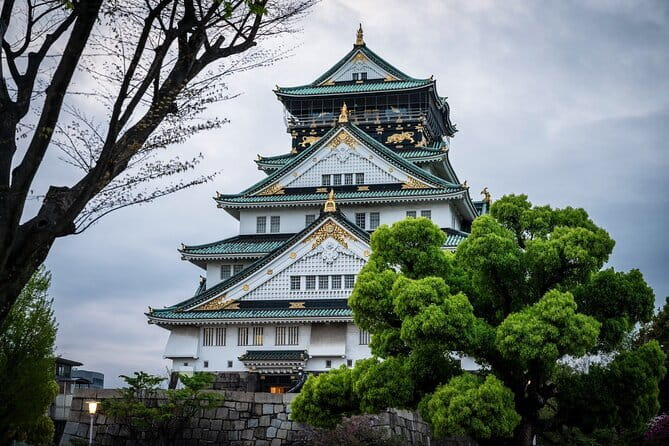
Osaka is a friendly place to learn because it offers strong subjects without requiring a long journey between completely different settings. One frame can be about architecture, another about people, and the next about reflected light on water.
The lesson is not just about collecting postcard views. Your guide can help you think about why one angle works better than another, how much of the scene to include, and how to use available light instead of fighting it.
That local eye matters in a city full of signs, wires, storefronts, narrow lanes, towers, and crowds. A first-time visitor can easily point a camera at the obvious subject and miss the better background, reflection, or side street nearby.
The private format changes the feel of the outing. You are not waiting for a large group to finish taking pictures. You can stop when a scene is worth working on, ask for another explanation, or move on when you have the image you wanted.
More photoshoots and photo walks:
- Osaka: Private Vibrant Nighttime Photoshoot (Dotonbori)
★ 4.9 · 80 reviews - Kimono photoshoot-Includes 100 photo data
★ 5.0 · 21 reviews - Guided Photography Tour in Osaka: Capturing Memories
★ 4.5 · 20 reviews
The day route from Shinsekai to Dotonbori
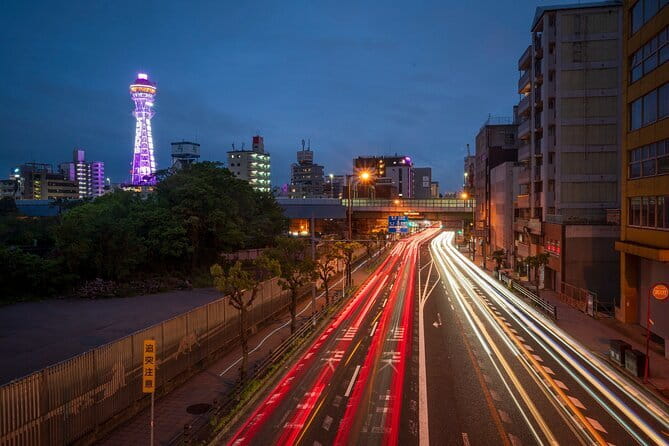
The daytime option begins at the streets of Shinsekai, an area known for its old Osaka character and Tsutenkaku Tower. This is a useful starting point because the area gives you more than one kind of subject: street details, colorful storefronts, local architecture, and the tower itself.
Tsutenkaku provides an obvious visual anchor. Your guide can help you look beyond the standard front-on picture by considering framing, nearby signs, leading lines, and the relationship between the tower and the surrounding streets.
Shinsekai also suits people who want to practice street photography without spending the whole session on formal architecture. You might work on finding a clean composition in a visually crowded scene, balancing bright signs with shaded areas, or timing a picture when a person adds scale.
The area’s nostalgic character is part of its appeal, but it can also be a drawback if you prefer polished modern scenery. You should expect a lively mix of visual information rather than tidy, minimalist streets.
From there, the route continues toward Dotonbori, one of Osaka’s best-known areas for neon, signs, canals, and unusual building fronts. This gives the lesson a useful change of pace. Shinsekai encourages you to notice texture and atmosphere, while Dotonbori asks you to handle strong artificial light and busy compositions.
Dotonbori can be visually overwhelming. That is precisely why instruction helps. Your guide can point out ways to simplify the frame, use reflections, or choose a viewpoint that makes the scene readable instead of merely crowded.
What you learn about camera settings and composition
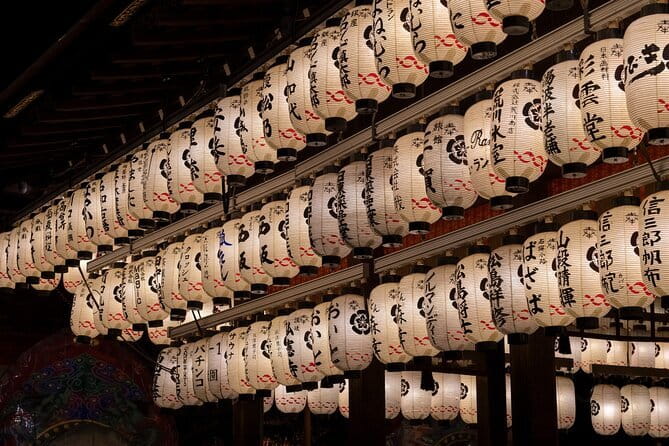
The lesson is designed around practical photography, not a fixed classroom lecture. You receive personal advice on camera settings, composition, and other techniques while working in real locations.
For a beginner, that can mean learning what the main camera controls do and when to change them. The supplied information does not promise a set syllabus, so the exact lesson should depend on your equipment and ability. Tell the guide what you already understand at the beginning.
If you are using a camera, bring it with its normal controls available and know how to access the basic settings. One useful tip from the experience is simple: come familiar with your camera. That lets you spend the session making pictures instead of searching through menus.
You can also take part with an iPhone. The advice on composition, timing, viewpoint, and available light still applies. A phone will not offer every manual control found on a dedicated camera, but you can still work on the most important skill: seeing a strong picture before you press the shutter.
The private setup is especially useful here. If you are confused by one setting, you can stay with that problem until it makes sense. If you already know the basics, you can ask for more advanced help with the type of picture you want to make.
Dotonbori at night and the practice of long exposure
The night option places Dotonbori at the center of the lesson. This is the strongest choice if your main goal is night photography, since the area offers neon signs, moving city scenes, canal reflections, and changing light.
Long exposure is a natural subject here. It can help you show motion, soften moving lights, or create reflections that give a picture more structure. The guide can help you understand how to control the effect rather than letting the scene turn into an accidental blur.
A tripod is not included, and you should not assume one will be supplied. That matters for long exposure work, since a stable camera is often useful. If you own a suitable tripod, check before bringing it, especially if you are traveling light.
Night photography also brings practical limits. Bright signs can fool a camera’s meter, dark areas can lose detail, and moving people can change the composition from one second to the next. Those problems are part of the lesson’s value, but you should expect to take several attempts before a picture works.
Dotonbori’s reflections are another strong reason to choose the night session. Water, glass, wet surfaces, and illuminated signs can add depth to a frame. Your guide’s local knowledge can help you find useful viewpoints rather than spending the whole time in the most obvious spot.
The night route is not only about technical settings. It also teaches timing. Osaka’s streets are in constant motion, and the best image may depend on waiting for the right person, light, or gap in the crowd.
A few more Osaka tours and experiences worth a look
- Private Osaka Walking Tour: Highlights & Hidden Gems
★ 5.0 · 569 reviews - 3/4/5 Hours Private Tour in Osaka with Local Guide
★ 5.0 · 189 reviews - Osaka’s Best and Brightest: Private Full-Day Tour by Vehicle
★ 5.0 · 147 reviews - Full Day Tour of Kyoto with Private Transportation
★ 5.0 · 130 reviews
The value of a private guide such as Irven
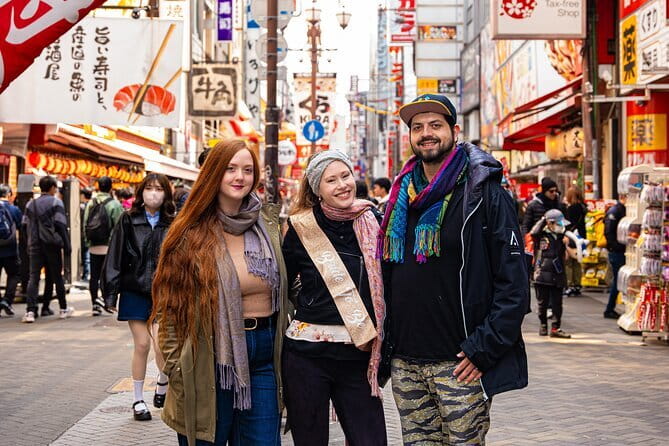
The experience is offered through Aperture Tours, and Irven is named as one of the professional guides. His approach, as described through the experience, includes taking time to explain what is happening at each stop and showing lesser-known corners suitable for street photography.
That patient style is important for a lesson. A guide who only points out landmarks would provide a sightseeing walk. A photography guide should explain why a location works, what to try, and how to adjust when the first attempt fails.
You can also benefit from local judgment. Osaka’s most famous signs are easy to find, but a useful picture may come from a side angle, a reflection, or a less obvious street nearby. A guide can save you the time spent searching without knowing what will produce a good frame.
The private format means the experience is limited to your group. This is a major advantage for mixed abilities. One person might need help with basic settings while another wants to work on composition or night technique. A shared public group would make that harder.
It is still wise to state your goals clearly. Tell the guide if you want street portraits, architecture, phone photography, night images, or basic camera instruction. The more specific you are, the more useful three hours can become.
How the three hours are best used
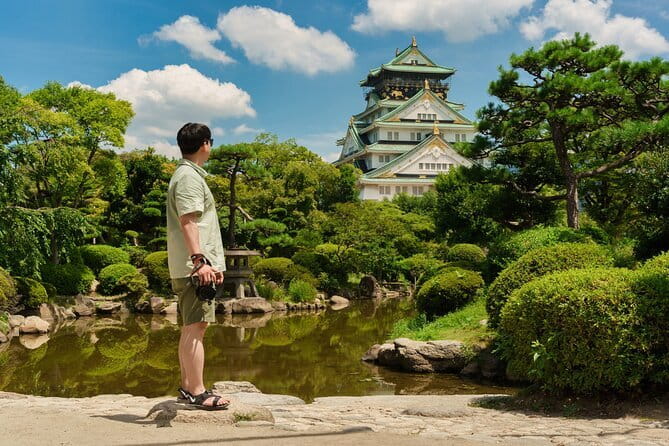
Three hours is long enough for focused practice, but not long enough to cover every part of Osaka or every area of photography. Think of this as a concentrated working session rather than a full city tour.
The day option gives you a natural progression from Shinsekai to Dotonbori. You can begin with street scenes and architectural details, then work with the larger, brighter compositions around the canal and signs.
The night option should be chosen for a narrower purpose. It is better suited to people who want to work on neon, reflections, movement, and long exposure than to people seeking a general introduction to Osaka sights.
Your pace matters. Since the tour is private, you can spend more time on a location if you are learning something useful there. You can also avoid wasting time on a subject that does not interest you.
The meeting point is listed at 3-21 Ōsakajō, Chuo Ward, Osaka, 540-0002. The activity ends back at the meeting point. Check the meeting details carefully before setting out, since the stated starting point and the route areas cover different parts of Osaka.
The experience is near public transportation, which makes the start easier to reach, but the supplied details do not specify a particular station or train line. Plan a little extra time to find the exact meeting point.
What you need to bring
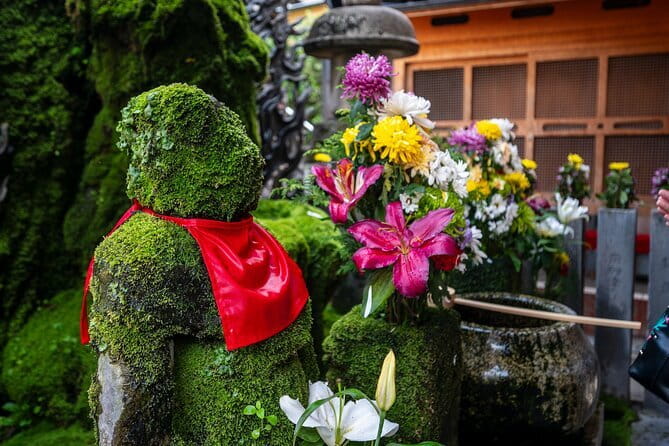
You must provide your own camera. That can be a dedicated camera or an iPhone, since phone users can apply the composition and timing advice too.
A tripod is also not included. If you plan to concentrate on long exposure, ask about bringing your own tripod and make sure it is practical for your travel plans.
You should also arrive with a rough idea of what you want to improve. For example:
- Basic camera settings
- Street photography composition
- Working with neon and artificial light
- Long exposure
- Reflections
- Making stronger phone photographs
You do not need to be an advanced photographer. Most people can participate, and the private structure allows the lesson to adjust to your level. Still, you will get more from the session if you know how to operate your own device.
Price, booking pace, and overall value
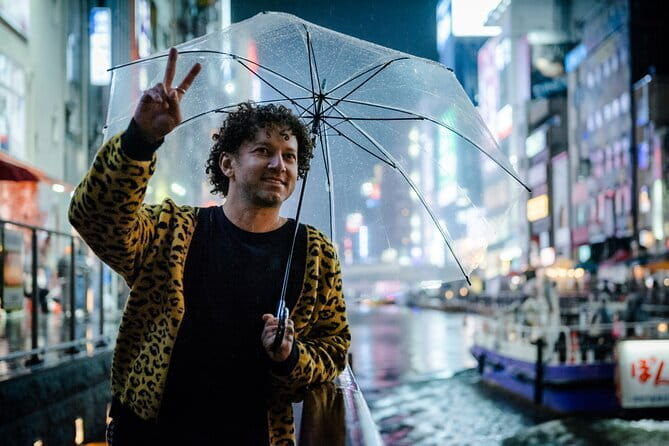
The listed cost is $170 per person. That is a serious price for three hours, especially if you mainly want a guide to show you famous Osaka locations.
The value improves if you want instruction. You are paying for private attention, local route planning, practical camera advice, and the chance to work on your own images instead of simply listening to a general explanation.
Group discounts are available, which may make the price easier to justify if you are booking with friends or family. Since only your group participates, you also avoid the compromises that come with a large shared tour.
The experience is booked about 72 days ahead on average. That suggests you should not leave it until the last minute if you have a fixed schedule or want a particular guide or time. Confirmation is received at booking.
Free cancellation is available up to 24 hours before the start time. Cancellations or changes made inside that window are not accepted for a refund, and the cut-off follows Osaka local time.
Who will get the most from this experience
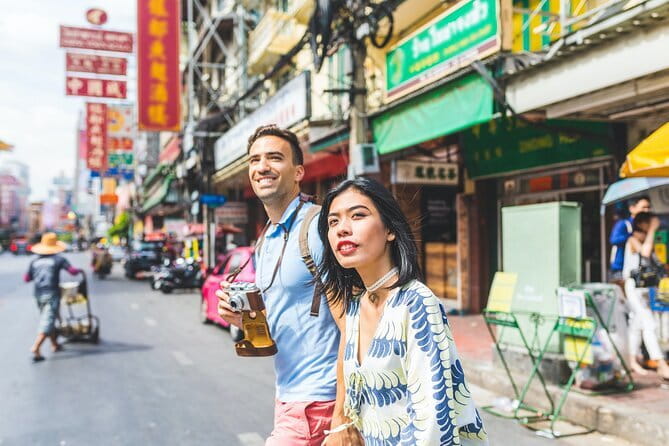
I would recommend this to photographers who want direct feedback during a trip. It is especially useful if you have recently bought a camera, keep relying on automatic settings, or want to learn how to make better night pictures.
It also suits a couple or small group with different skill levels. A private guide can shift between basic and more advanced advice without holding up a bus full of people.
Phone photographers should not dismiss it. The lesson is not restricted to expensive equipment, and the techniques involving framing, light, timing, and reflections transfer well to an iPhone.
This may be less suitable if you want a relaxed sightseeing walk with no technical discussion. You should also think twice if $170 feels too high for three hours and you are not planning to practice photography during the session.
Should you book the Osaka Photography Masterclass?
Book it if you want to return from Osaka with better pictures and better habits, not just more pictures. The strongest reasons are the private format, the choice between daytime street scenes and nighttime neon, and the chance to work with a guide such as Irven on your own equipment.
Choose the night option if long exposure and city lights are your priority. Choose the day route if you want a broader mix of Shinsekai street scenes, Tsutenkaku Tower, architecture, and Dotonbori.
The price is easier to defend for serious beginners, keen hobby photographers, and anyone who values personal tuition. Before booking, confirm your preferred route, tell the guide what camera or phone you use, and remember that both a camera and tripod are your responsibility.
FAQ
Where does the photography experience start?
It starts at 3-21 Ōsakajō, Chuo Ward, Osaka, 540-0002, Japan.
Where does the experience end?
The activity ends back at the meeting point.
How long does the photography lesson last?
The private lesson lasts approximately three hours.
Is the tour private?
Yes. Only your group participates in the activity.
Is a professional photographer included?
Yes. The experience includes a professional photographer guide, as well as a local guide.
Is camera equipment provided?
No. A camera is not included, so you must bring your own camera or phone.
Is a tripod provided?
No. A tripod is not included.
Can I use an iPhone?
Yes. The photography techniques and suggestions also apply to iPhone photography.
Is there a daytime and nighttime option?
Yes. The day route focuses on Shinsekai, Tsutenkaku Tower, and Dotonbori. The night route focuses on Dotonbori, neon lights, reflections, street scenes, and long exposure.
Can I cancel for a full refund?
Yes, if you cancel at least 24 hours before the experience start time. Cancellations or changes made less than 24 hours before the start are not accepted for a refund.
Just added around Osaka
- Nara Day Trip from Osaka with a Licensed Guide★ 5.0 · 3 reviews
- Osaka Early Morning Osaka Castle Tour Avoid Crowds★ 5.0 · 3 reviews
- Guided Tour of Some Attractions in Osaka by Private Car★ 5.0 · 3 reviews
- Private Transfer Between Kyoto and Kansai Airport KIX★ 5.0 · 3 reviews
- Shared Arrival Transfer: Osaka Itami Airport to Osaka City★ 5.0 · 3 reviews
- Osaka: Sushi Making Class and Dotonbori Food Tour★ 4.7 · 3 reviews
- Osaka Night Photography Workshop★ 5.0 · 3 reviews
- Kyoto Full day Tour Kinkakuji, Kiyomizu-dera and Fushimi Inari★ 4.5 · 3 reviews
Osaka Photoshoots & Photography Tours, compared.
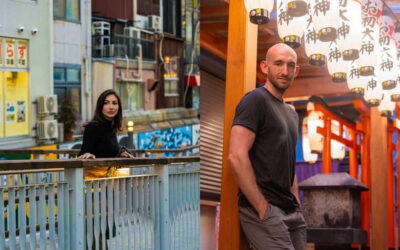
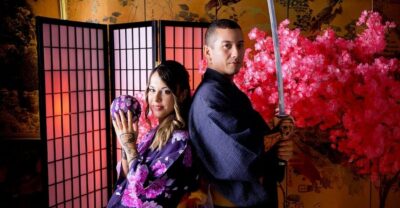
Guided Photography Tour in Osaka: Capturing Memories
Read our review →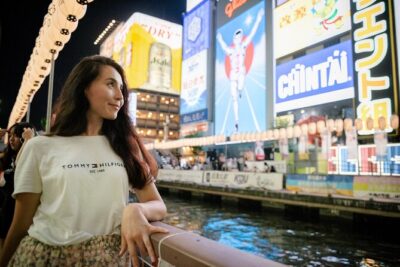
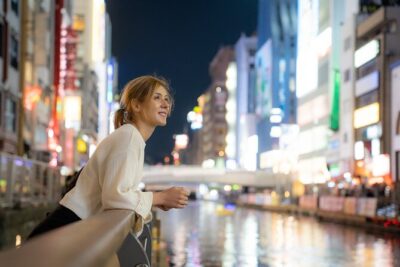
Osaka Dotonbori Night Photoshoot – Private | Pro Photographer
Read our review →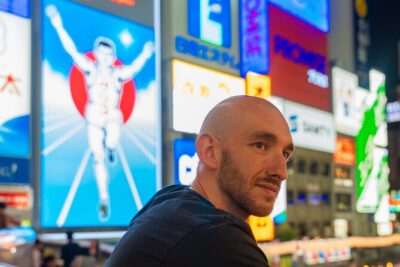
Private Vibrant Night Photoshoot Experience in Osaka (Dotonbori)
Read our review →
Browse the lists this tour appears in